Discuss a trialarrow_outwardDiscover Creoarrow_outward
Creo for independent design
Creo for solo designers. Own the next idea.
Turn independent thinking into a design you can develop, review and deliver. Explore professional 3D CAD around the projects you take on and the outputs your clients need.
IDEA · MODEL · DELIVERYour project. Your next possibility.
Independent thinking. Connected engineering.
Your next idea. Built in Creo.
Creo is a 3D CAD environment for developing parts and assemblies, evaluating design choices and preparing product definition. For a solo designer, it can connect the work that often sits with one person—from shaping the concept to explaining the final deliverable.
An idea becomes more useful when its geometry and engineering context stay together.
For an independent designer, the assignment defines the boundary: the geometry you author, the information the client supplies and the deliverable you return. The sections below separate working benefits, design tasks and specialist suite choices.
A platform that supports the way you work
Work independently. Design with confidence.
When one person carries the design, a clear working method matters as much as tool breadth. These benefits focus on continuity and confidence through a client assignment.
Professional foundation
Work in a production-focused CAD environment.
Keep the part, assembly and documentation within a professional CAD workflow. Consistent templates and modeling conventions help make the work understandable when your client revisits it; a shared application name alone does not establish a design standard.
Connected toolset
Keep related engineering work in context.
Move between related engineering activities with the product context in view. This can limit repeated preparation when you own several parts of an assignment; specialist tool scope is addressed in the suite comparison below.
Complex design
Organize the model around the task.
Keep attention on the part of a larger product that belongs to your assignment. A focused model structure helps separate the decisions you own from geometry supplied for reference.
Changing requirements
Prepare for the next client revision.
Make the reasoning behind a revision easier to revisit. Understandable dependencies help you explain what changed to a client without reconstructing the entire modeling session.
Client exchange
Make collaboration an agreed exchange.
Set clear expectations for the handoff, including what the client will receive and how it will be reviewed. The Multi-CAD brief below covers the technical exchange considerations.
Practical capabilities. A defined purpose.
From client geometry. To your next deliverable.
Explore five types of work that may belong in an independent design assignment. Each starts with a concrete task and a question to carry into your evaluation. The tools required depend on the selected offering.
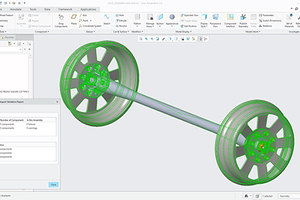
Multi-CAD
Begin with the client’s geometry.
Bring supplied CAD geometry into the design conversation and assess how it will be referenced or updated. File support and retained information depend on the format, version and translation workflow.
Bring it into your project+
Agree what can change, who owns the source file and how another revision will be exchanged.
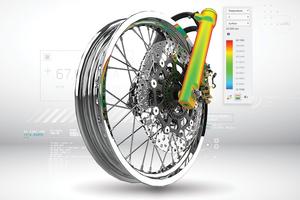
Simulation & analysis
Question a design before committing.
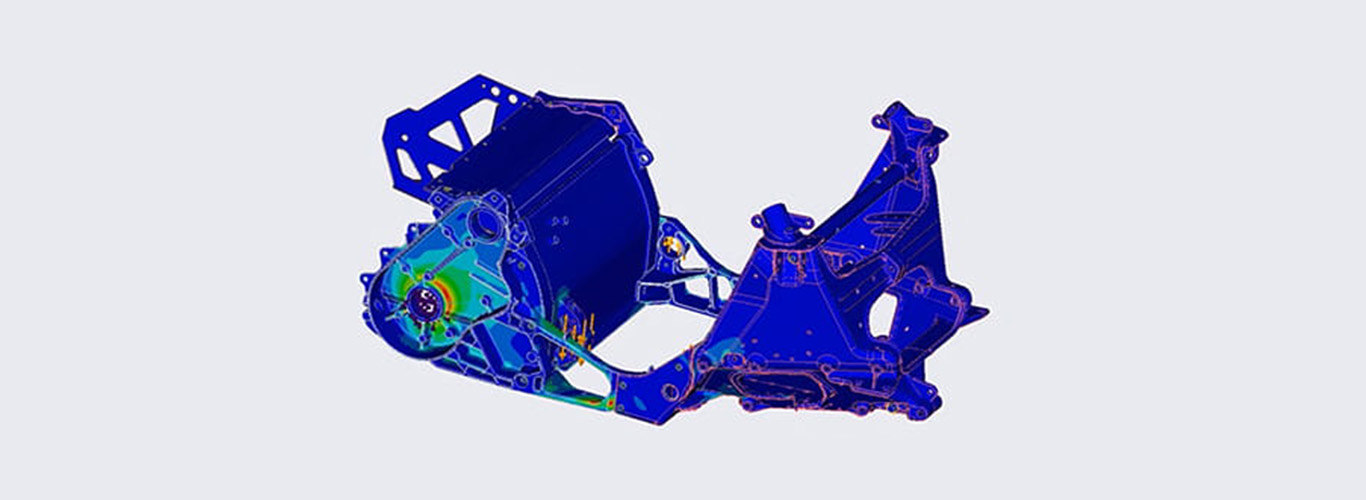
Use the appropriate analysis tools to compare a design against its intended conditions. Loads, materials and constraints still require engineering judgment; early feedback and a detailed validation study answer different questions.
Bring it into your project+
Define the design decision and the assumptions behind the study before interpreting the result.
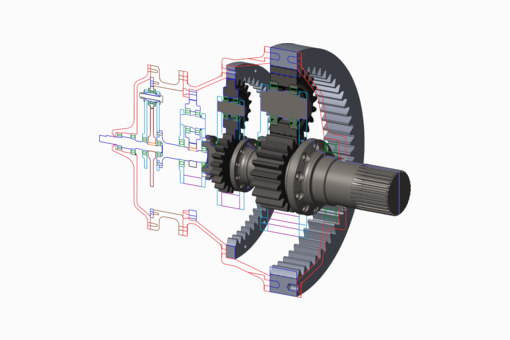
Layout & modeling
Give an early layout a 3D direction.
Use existing 2D information to establish a layout and develop the model. Identify which dimensions and relationships should drive the design rather than assuming a drawing can become a finished parametric model automatically.
Bring it into your project+
Choose one design reference that should remain stable when the surrounding geometry changes.
Assembly context
Review the part in its surroundings.
Check fit and relationships within the intended assembly. Structure the work around the components needed for the task, and examine interfaces before treating a changed part as ready for a larger product.
Bring it into your project+
Which neighboring part or mounting interface needs review when this component changes?
Manufacturing preparation
Prepare for the intended process.
Relate design geometry to machining, tooling or additive preparation where the selected tools support the process. Review the setup, output and manufacturing requirements with the responsible person before production.
Bring it into your project+
Identify the file, drawing or process information the next person needs to work from.
Explore the broader platform when your work needs a deeper technical scope.
Build your foundation. Choose your specialist tools.
Use Creo Design Essentials as the core design foundation, then compare the specialist responsibilities below. Confirm current package contents and entitlements before selecting an offering.
Choose a suite around the additional work you will own—not simply the type of product you design. A molded component does not necessarily make you responsible for its tooling, and supplying a part model is different from preparing a machining operation. Use the summaries below to identify the relevant discipline, then open its capabilities and project question.
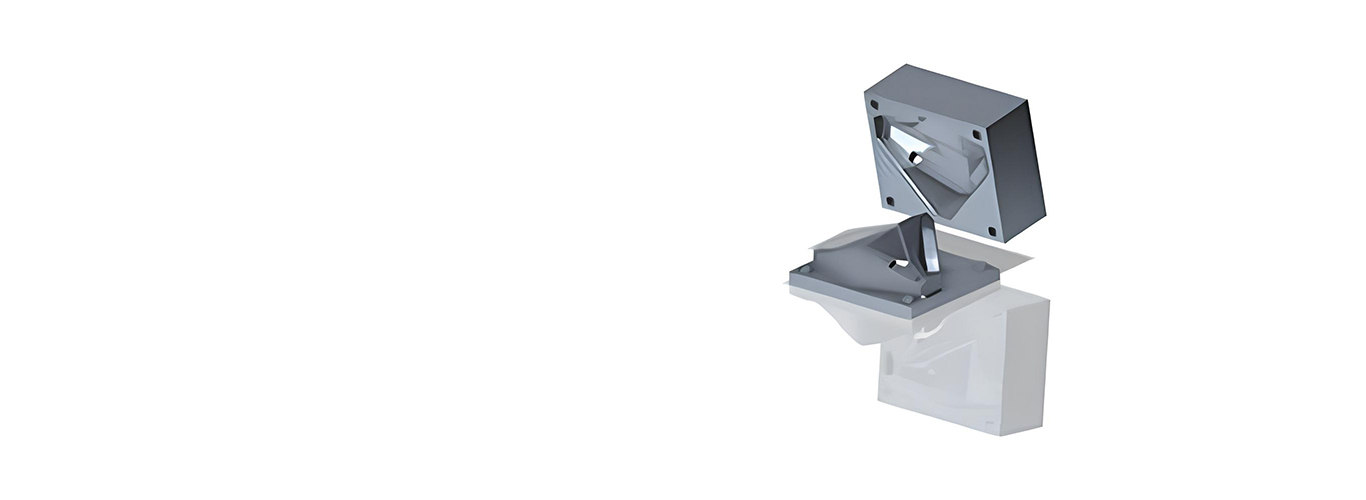
Injection molding
For the tooling behind the product.
Consider the Injection Molding Suite when mold and die design is part of your assignment. Creo Tool Design Extension supports tooling preparation around the product geometry; agree where product design ends and tooling responsibility begins.
Explore tooling capabilities+
Create parting-line and parting-surface geometry.
Keep tooling and production drawings associated with the design.
Are you responsible for designing the tool, the molded product, or both?
Real-time simulation
For feedback while the geometry develops.
Choose the Simulation Live offering around the analysis you own. Confirm structural, thermal and modal scope; fluid work may require Advanced. Assign any deeper validation separately.
Explore simulation capabilities+
Examine the effect of a geometry change during design.
Define materials, loads and constraints before interpreting feedback.
Which design decision needs feedback during modeling, and which needs a deeper study?
High-speed machining
For preparing the manufacturing operation.
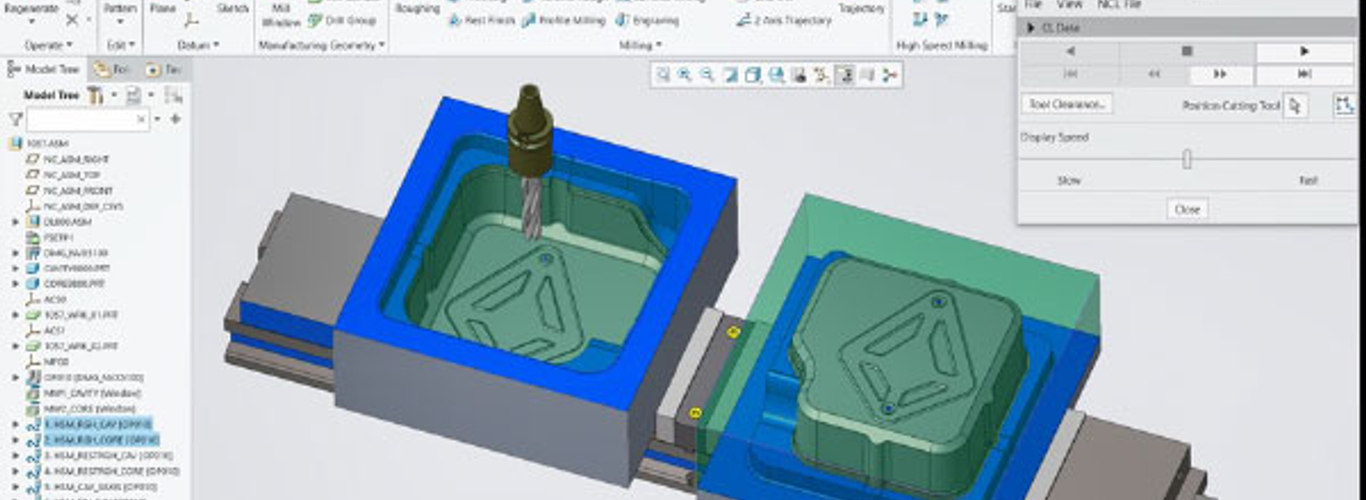
Scope the Machining Suite when your contract includes programming the operation. Confirm whether Creo High-Speed Milling’s three-axis milling and basic holemaking cover it, and agree who signs off before production.
Explore machining capabilities+
Relate toolpath preparation to the CAD model.
Prepare manufacturing process documentation for review.
What setup, toolpath and output checks must be completed before the operation reaches production?
Model-based design
For a model that carries manufacturing requirements.
The Model-Based Design Suite supports communicating product definition through the 3D model, with GD&T Advisor guiding geometric tolerance creation. Your client’s requirements and receiving tools determine which annotations and review format the handoff needs.
Explore model-based definition capabilities+
Define the required annotations in the model.
Agree how the receiving team will review and use that definition.
Does the handoff require a drawing, an annotated 3D model, or both?
Package contents, release support and commercial availability should be confirmed for the proposed offering. Discuss the required deliverables and specialist responsibilities with TriStar.
Choosing how to access Creo is a separate decision from choosing the tools for your work.
The same CAD foundation can serve very different assignments. Start with the product context and the information the receiving team needs, then define a focused Creo workflow around that handoff.
Scroll or swipe to explore all 5 industries. Use Tab to reach each industry link.
Aerospace & Defense
A specialist design assignment may need to fit a client’s established configuration, modeling and documentation practices. Confirm the applicable product reference and review responsibilities so the delivered work can enter the client’s process. Client requirements Which configuration, deliverable format and client review apply to the work you return?
Vehicle programs coordinate components across packaging, supplier and manufacturing constraints. Use this setting as a practical example when developing a product independently while preparing clear design handoffs. Which product interface and review criteria should guide the evaluation?
A fixture, mounting bracket or small machine assembly must work within an existing mechanical system. Agree the installation interfaces, motion clearance and manufacturing output before developing the detailed design. Machine interface Which dimensions and neighboring components define the boundary of your assignment?
An enclosure or compact mechanical assembly brings packaging, connections and assembly access into one project. Establish the supplied component reference and the space that must remain available as the mechanical design develops. Packaging boundary What must the receiving team know about the component envelope and mechanical interfaces?
Device teams work within defined design controls and documented review responsibilities. Use this setting as a practical example when developing a product independently while preparing clear design handoffs. Which product interface and review criteria should guide the evaluation?
Start with the work you do and the responsibilities you need to support.
Is this page for freelancers and independent engineers?+
Yes. It frames Creo around individual design work, contract assignments and the responsibilities that may sit with one person. The appropriate package still depends on your projects and deliverables, rather than your team size alone.
Does Design Essentials include every specialist tool shown here?+
No. Treat Design Essentials as the starting point and confirm the current package contents. Advanced simulation, tooling, machining and model-based definition can require specific suites or extensions.
Can I work with CAD files supplied by a client?+
Creo offers Multi-CAD workflows. Agree the source format and version, evaluate the translated geometry and confirm what information must be retained. Do not assume identical behavior or fully editable design history for every file.
Should I consider Creo or Creo+?+
Compare delivery, administration, connected work and your client environment alongside the required CAD capabilities. The parent Creo page explains the delivery choices; discuss the proposed setup before selecting access.
What should I bring to an evaluation?+
Bring a working copy of the client geometry, its source format and the expected deliverable. Include any dependent drawings or templates that the recipient needs to review.
Your next independent project
Bring the challenge. Shape your Creo workflow.
Tell us what you design, what your client needs and where your current tools fall short. TriStar can help frame a Creo evaluation around your work, access and support needs.