Keep the finish.
Retain applied materials as the linked geometry changes.

Turn 3D product data into images and animations that make materials, movement and design intent easy to understand. Build the visual story while the product is still taking shape.
Explore your connected workflowStart with the application or file you already have. Bring supported 3D data into Studio, then develop its materials, lighting and presentation in one visual environment.
Connect through a supported design application, or import a native or exchange file. LiveLinking carries model revisions into an existing Studio scene while keeping its visual setup.
Update supported geometry through a compatible LiveLinking plugin. VStitcher uses a separate plugin transfer.





Bring supported 3D files directly into the scene.
Maya .ma and .mb import uses an installed, licensed Maya application.
Update the model. Keep the visual work.
Retain applied materials as the linked geometry changes.
Carry the scene’s texture work into the updated model.
Continue from the camera views you have already established.
Preserve existing animations through the supported update workflow.
Move a light, try another finish or change the camera. Real-time rendering brings the visual consequences into the conversation as you work, so the next review can focus on the direction worth developing.
Read reflections, shadows and material changes in the working view as you refine the scene.
Create turntables, part movement and camera animation to explain the product from more than one angle.
Reuse the scene’s look and framing when a product variant or revised model needs another set of visuals.
A finish is more than a color. Show how texture, transparency and reflections shape the product’s appearance under considered lighting.
Begin with familiar actions, then refine the details that matter. Material presets, lighting environments and camera controls make the first view approachable without limiting where the scene can go.
Import supported geometry or transfer it from a compatible design application.
Drag materials onto parts, choose an environment and adjust the lighting.
Set the camera and composition, then prepare the image or animation your audience needs.
Use image generation and editing alongside your 3D work. Explore a finish, place a product in a new setting or develop an early concept before returning to the scene with a clearer brief.
Studio AI runs locally with a Studio subscription after the initial model download. Its tools support image exploration and editing alongside your 3D scene.
Explore Studio AIExplore alternative material, lighting and visual directions from a prompt while using the existing composition as a starting point.
Generate a surrounding scene while retaining the product geometry, materials and lighting from the Studio scene.
Generate concept imagery from a prompt to give an early product or campaign discussion something concrete to respond to.
Refine an image or change its context with a prompt and an optional context image.
Paint a mask over an image area and describe the change you want to explore.
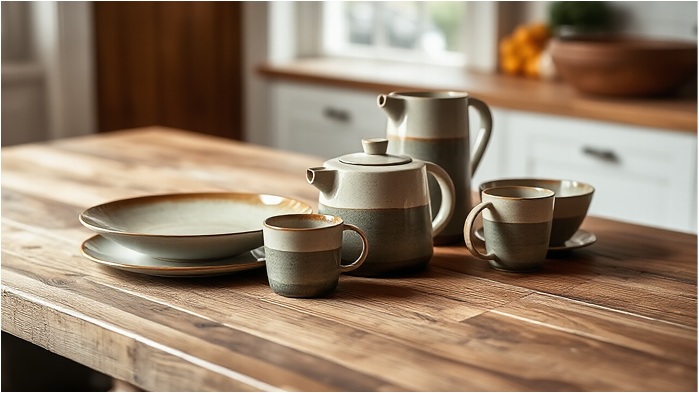
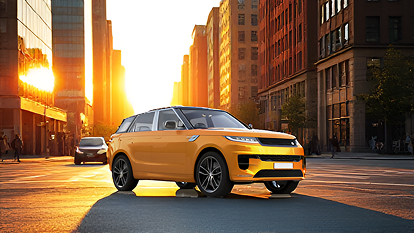
Choose the next step around the work your team needs to produce.
Bring a representative model, a finish to explore and an output to create. Test the import, scene setup and review workflow on the workstation you plan to use.
Free TrialChoose Studio for the people creating your product images and animations. Match the subscription, training and any additional tools to the team’s workflow.
Buy NowA few details to help plan your Studio workflow.
Studio turns supported 3D models into product images and animations. Design, engineering and marketing teams use materials, lighting and camera composition to communicate appearance, product details and movement.
No. Studio supports direct import of native and exchange formats. Compatible plugins provide another transfer route, including LiveLinking for supported applications. Check the format, software version and connection you plan to use.
With a compatible LiveLinking connection, send a model update from the design application while retaining applied views, materials, textures and animations. Keep the linked model and scene structure consistent when preparing revisions.
Studio supports model and camera animation, including turntables and exploded presentations. Choose the movement, timing and output around the product detail or relationship you want to communicate.
Studio AI adds local image generation and editing, including Restyle, Background, Imagine, Transform and Replace. Use it to explore visual directions, then develop the selected idea through your scene and image workflow.
Start with the output and audience. Immersive review, browser delivery, asset management and additional rendering capacity have their own product and setup requirements. TriStar can help match those choices to the Studio work your team performs.
Bring us the model, the visual challenge and the audience you need to reach.
We’ll help plan the Studio tools, training and workflow around that work.